<< Hide Menu
Peter Apps
Daniella Garcia-Loos
Peter Apps
Daniella Garcia-Loos
Newton's Second Law 🛫
If an object of interest interacts with several other objects, the net force is the vector sum of the individual forces. Projectile motion and circular motion are both included in AP Physics 1.
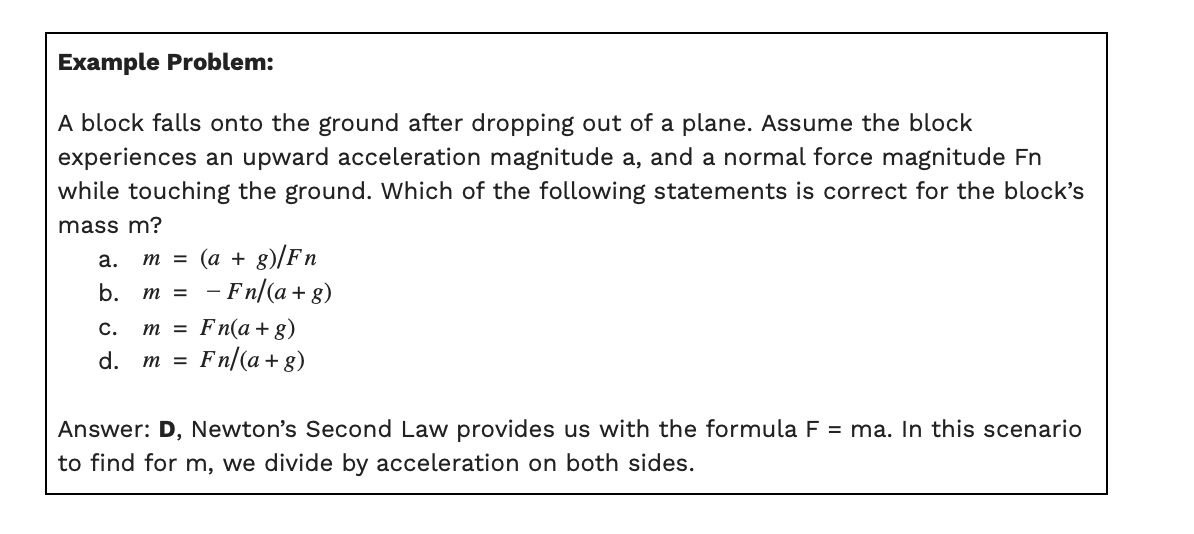
Newton’s Second Law states, “The acceleration of an object as produced by a net force is directly proportional to the magnitude of the net force, in the same direction as the net force, and inversely proportional to the mass of the object.”
Key Concept: Net Force - the vector sum of all forces acting on a particle or body
Here are some key points to remember about Newton's second law:
- Force is a measure of how much an object is pushed or pulled. It is measured in units of mass times acceleration, such as kilograms times meters per second squared (kg*m/s^2).
- Mass is a measure of how much matter is contained in an object. It is measured in kilograms (kg).
- Acceleration is a measure of how quickly an object changes its velocity. It is measured in meters per second squared (m/s^2).
- The greater the mass of an object, the harder it is to accelerate. This is why it takes more force to accelerate a heavy object than a light object.
- The greater the force applied to an object, the greater its acceleration will be. This is why a car accelerates more quickly when the gas pedal is pressed harder.
- Newton's second law is often used to explain how objects behave when they are pushed or pulled, such as when a person pushes a box across the floor or when a rocket blasts off into space. It is an important concept in physics and is widely used to understand and predict the motion of objects.

Free-body Diagrams 🌐
Free-body diagrams are useful tools for visualizing forces being exerted on a single object and writing the equations that represent a physical situation.
As we’ve covered over a multitude of standards in this guide, you must understand how to correctly depict a free-body diagram in AP Physics 1. This includes the few key concepts that we’ve dealt with. If you remember two key things with free-bodies, keep in mind they only show external forces (ie. forces that cause motion) and do not draw components unless otherwise specified.
A free-body diagram is a graphical representation of the forces acting on an object. It is a useful tool for understanding the forces acting on an object and predicting how it will move. To draw a free-body diagram, you can follow these steps:
- Identify the object for which you want to draw the free-body diagram. This can be any object that is in motion or is being acted upon by forces.
- Draw a simple, labeled sketch of the object. This should include all of the relevant details, such as the size, shape, and orientation of the object.
- Identify the forces acting on the object. These can include external forces, such as gravity, friction, and applied forces, as well as internal forces, such as tension or compression.
- Draw an arrow for each force, pointing in the direction that the force is acting. The length of the arrow should represent the magnitude of the force.
- Label each arrow with the type of force it represents (e.g. "gravity," "friction," "applied force," etc.).
- If necessary, draw a coordinate system to help you keep track of the directions of the forces.
- Add any additional information that might be helpful, such as the mass of the object or the angle of the applied force.
Example Problem:
Imagine that you are standing on a scale that is suspended from a pulley. The scale has a mass of 75 kg, and you have a mass of 60 kg. The scale is being pulled upward by a rope attached to the pulley, and you are standing on the scale.
To draw a free body diagram for this problem, you would follow these steps:
- Identify the object for which you want to draw the free body diagram. In this case, the object is the scale.
- Draw a simple, labeled sketch of the scale. This should include the size, shape, and orientation of the scale, as well as any relevant details, such as the direction of the rope and the direction you are standing on the scale.
- Identify the forces acting on the scale. In this case, there are several forces acting on the scale:
- Gravity: This is the force that pulls the scale downward towards the center of the Earth.
- Normal force: This is the force exerted by the surface the scale is resting on, which pushes the scale upward to balance out the force of gravity.
- Friction: This is the force that opposes the motion of the scale as it tries to slide across the surface.
- Tension: This is the force exerted by the rope as it pulls upward on the scale.
- Draw an arrow for each force, pointing in the direction that the force is acting. The length of the arrow should represent the magnitude of the force.
- Label each arrow with the type of force it represents (e.g. "gravity," "normal force," "friction," "tension," etc.).
- If necessary, draw a coordinate system to help you keep track of the directions of the forces.
- Add any additional information that might be helpful, such as the mass of the object or the angle of the applied force.
📝Practice: Newton's Second Law - FRQ 2019
🎥Watch: AP Physics 1 Khan Academy - Newton's Second Law of Motion

© 2024 Fiveable Inc. All rights reserved.